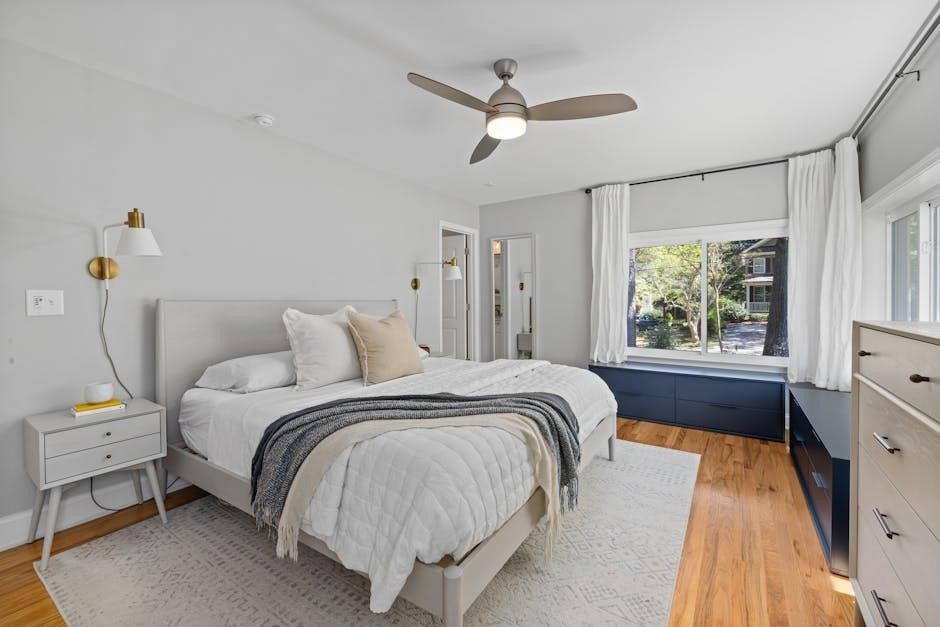
hunter ceiling fan owner’s manual
Welcome to the Hunter Ceiling Fan Owner’s Manual, your comprehensive guide to installing, operating, and maintaining your ceiling fan. This manual ensures safety, efficiency, and warranty compliance for optimal performance.
1.1 Purpose of the Manual
This manual is designed to provide clear instructions and essential information for the proper installation, operation, and maintenance of your Hunter ceiling fan. It serves as a comprehensive guide to ensure safety, efficiency, and optimal performance. The manual outlines important safety precautions, step-by-step installation processes, and tips for maintaining your fan. Additionally, it covers troubleshooting common issues and provides details about warranty coverage. By following the guidelines in this manual, you can maximize the lifespan of your ceiling fan and enjoy its features for years to come. Whether you’re installing the fan yourself or hiring a professional, this manual is your go-to resource for all questions and concerns.
- Ensure safe and proper installation.
- Optimize fan performance and efficiency.
- Provide troubleshooting solutions.
- Outline warranty and customer support details.
1.2 Important Safety Information
Safety is a top priority when installing and operating your Hunter ceiling fan. Always turn off the power to the circuit at the electrical panel before starting installation or maintenance. Use only the mounting bracket provided by Hunter to ensure stability and prevent accidents. Keep the fan at least 7 feet above the floor for optimal airflow and safety. Avoid placing flammable materials near the fan, and never touch electrical components with wet hands. Proper installation is crucial to prevent wobbling or imbalance, which could lead to hazards. Regularly inspect the fan for wear and tear, and replace any damaged parts immediately. By following these guidelines, you can enjoy safe and efficient operation of your Hunter ceiling fan.
- Turn off power before installation or maintenance;
- Use only Hunter-approved mounting brackets.
- Keep the fan 7 feet above the floor.
- Avoid flammable materials nearby.
- Inspect for wear and tear regularly.
1.3 Warranty and Customer Support
Your Hunter ceiling fan is backed by a comprehensive warranty program designed to protect your investment. The limited lifetime motor warranty ensures years of reliable operation, while other components are covered for up to one year. To activate your warranty, register your product on Hunter’s official website or complete the registration card included in the packaging. For any questions or issues, Hunter’s dedicated customer support team is available to assist. Contact them via phone, email, or through the support portal on their website. Additional resources, such as online manuals and troubleshooting guides, are also accessible to help you resolve common issues quickly. Hunter is committed to providing excellent service and ensuring your satisfaction with their products.
- Lifetime motor warranty for durability.
- One-year warranty on other components.
- Register your product for warranty activation.
- Customer support available via phone, email, or website.
- Online resources for troubleshooting and assistance.
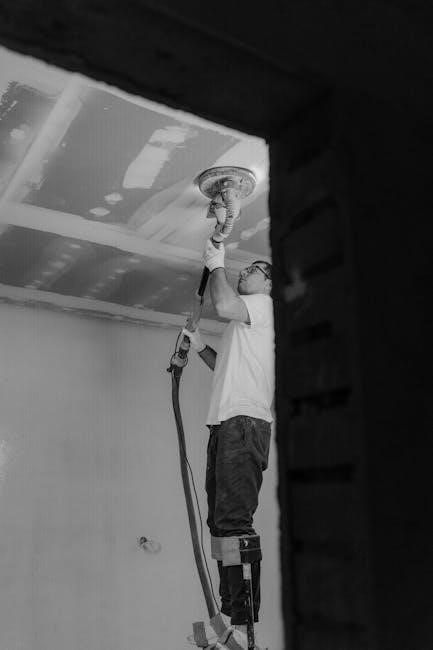
Installation Instructions
Install your Hunter ceiling fan safely and efficiently with detailed guidance. Ensure you have the correct tools and materials, and follow the step-by-step instructions for a secure setup.
- Required tools: screwdrivers, pliers, and a ladder.
- Materials: mounting bracket, screws, and wiring connectors.
- Step-by-step guide for flush or standard mounting.
- Follow safety precautions to avoid accidents.
2.1 Tools and Materials Needed

To successfully install your Hunter ceiling fan, gather the necessary tools and materials beforehand. Ensure you have the following:
- Tools: Phillips screwdriver, flathead screwdriver, pliers, wire cutters, and a voltage tester.
- Materials: Mounting bracket, screws, washers, and wiring connectors provided in the fan box.
- Optional: A ladder or step stool for safe access and a voltage tester to ensure power is off.
Verify all components are included in the packaging to avoid delays. If any parts are missing or damaged, contact Hunter customer support immediately. Always follow safety guidelines when handling electrical components and tools.
2.2 Step-by-Step Installation Guide
Begin by turning off the power to the ceiling fan circuit at the electrical panel. Verify the power is off using a voltage tester; Remove any existing light fixtures or ceiling fan brackets. Install the Hunter-provided mounting bracket securely to the ceiling junction box using the screws provided. Ensure the bracket is tightly fastened to support the fan’s weight. Next, assemble the fan housing by attaching the blades and any optional light kits. Mount the fan motor to the bracket, aligning the screws properly. Connect the wiring according to the color-coded diagram in the manual, ensuring black (hot) and white (neutral) wires are connected correctly. Secure the fan housing to the bracket and tighten all screws. Finally, turn the power back on and test the fan’s operation at all speed settings. If issues arise, refer to the troubleshooting section or contact Hunter support.
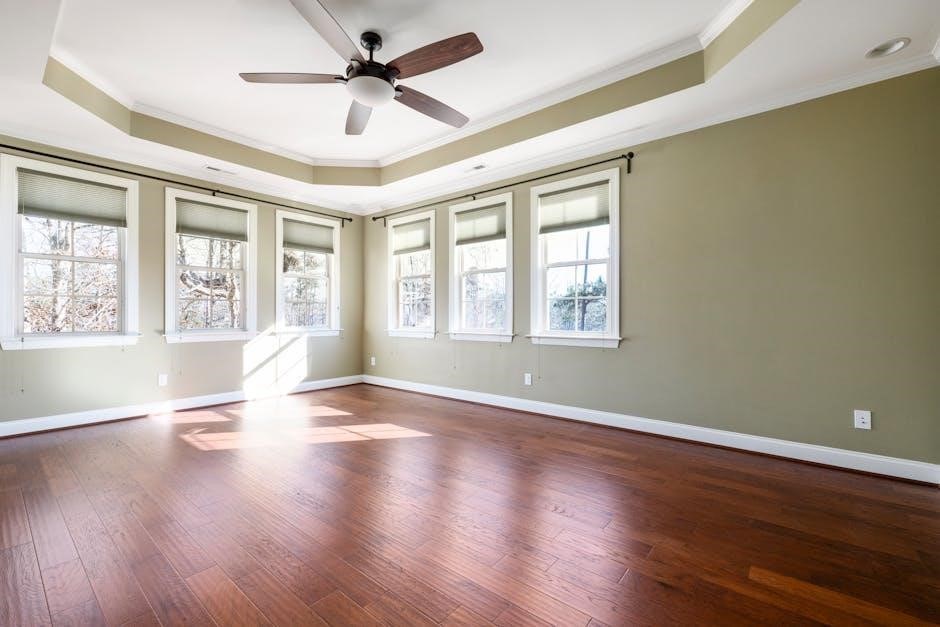
2.3 Mounting Types (Flush Mount, Standard Mount)
Hunter ceiling fans offer two primary mounting options: Flush Mount and Standard Mount. Flush Mount is ideal for low-ceiling spaces, as it installs directly to the ceiling without additional spacing, providing a sleek appearance. This method is recommended for ceilings with less than 8 feet of clearance. Standard Mount uses a downrod and is suitable for higher ceilings, allowing for optimal air circulation and aesthetic placement. Both mounting types include necessary hardware, such as screws and brackets, to ensure secure installation. Always use the mounting bracket provided by Hunter to guarantee stability and safety. For precise installation, refer to the specific instructions for your fan model, as slight variations may apply. Proper mounting ensures efficient performance and prevents potential wobbling or noise during operation.
Operating the Ceiling Fan
Operating your Hunter Ceiling Fan is straightforward with multiple speed settings and control options. Reverse the direction for seasonal efficiency and use the light kit for ambient lighting.
3.1 Speed Settings and Control Options
Your Hunter Ceiling Fan offers multiple speed settings to customize airflow according to your needs. Most models feature a standard pull-chain control with three to four speed options: low, medium, high, and sometimes an eco-mode. For added convenience, some fans come with wall-mounted or remote controls, allowing you to adjust speeds effortlessly. Smart home-compatible models enable voice control or app-based adjustments through platforms like Alexa or Google Home. The fan’s speed settings are designed to optimize energy efficiency while maintaining consistent air circulation. Regularly cleaning the fan and ensuring proper installation will help maintain smooth operation. Always refer to your specific model’s manual for detailed instructions on using your control options effectively. Proper use of these features ensures optimal performance, energy savings, and long-term durability of your ceiling fan.
3.2 Reversing the Fan Direction (Winter/Summer)
Your Hunter Ceiling Fan features a reversible motor that allows you to change the fan’s rotation direction, optimizing airflow for different seasons. In winter, running the fan clockwise at a low speed helps circulate warm air evenly, reducing heating costs. In summer, the counterclockwise setting enhances cooling by creating a refreshing breeze. To reverse the direction, locate the direction switch on the motor housing (usually a slider or button) and move it to the desired position. For smart fans, this can also be controlled via the remote or app. Ensure the fan is turned off before switching directions to avoid damage. This feature ensures year-round comfort and energy efficiency, making your ceiling fan a versatile addition to your home.
3.3 Using the Light Kit (If Applicable)
If your Hunter Ceiling Fan includes a light kit, this feature provides additional illumination for your space. To use the light kit, ensure all bulbs are correctly installed and the fixture is securely attached. For models with dimmable lights, use a compatible dimmer switch or the included remote control to adjust brightness. Smart-enabled fans may also allow light control via a mobile app. Regularly clean the glass cover to maintain light quality and replace bulbs as needed. Refer to the manual for specific bulb wattage and type recommendations. Some models feature LED lights, which are energy-efficient and long-lasting. Always turn off the power before replacing bulbs or adjusting the light kit to ensure safety. Proper use of the light kit enhances both functionality and aesthetics, making your fan a versatile addition to any room.

Maintenance and Cleaning
Regular maintenance ensures your Hunter Ceiling Fan operates efficiently. Clean fan blades with a soft cloth to prevent dust buildup. Inspect for loose screws and lubricate moving parts annually. Replace worn components promptly to maintain performance and safety.
4.1 Regular Cleaning Schedule
Regular cleaning is essential to maintain your Hunter Ceiling Fan’s efficiency and appearance. Dust fan blades monthly using a soft, dry cloth to prevent buildup. For deeper cleaning, dampen the cloth with mild detergent, but avoid harsh chemicals or abrasive materials. Clean the motor housing and light kit (if applicable) similarly. Ensure the fan is turned off before cleaning to avoid accidents. For fans in high-traffic or dusty areas, increase cleaning frequency to every 4-6 weeks. Use a sturdy ladder or step stool for safe access. Never use water directly on electrical components. A well-maintained fan operates quietly and circulates air effectively. Neglecting cleaning can lead to reduced performance and potential safety hazards. Always refer to the manual for specific cleaning recommendations tailored to your model.
4.2 Lubrication and Inspection
Regular lubrication and inspection are crucial for maintaining your Hunter Ceiling Fan’s performance and longevity. Lubricate the fan’s motor every 6 to 12 months using a high-quality, silicone-based lubricant to ensure smooth operation. Inspect the blades for dust buildup and damage; replace any warped or cracked blades immediately. Check the screws, balance clips, and mounting hardware for tightness to prevent wobbling or noise. Examine the light kit (if applicable) for loose connections or damaged bulbs. Inspect the motor housing for dust accumulation and clean it gently with a soft brush. Ensure all electrical connections are secure and free from corrosion. Perform a visual inspection of the fan’s mounting bracket and ceiling screws annually to verify stability. Address any issues promptly to maintain safety and efficiency. Refer to your manual for specific lubrication points and inspection guidelines tailored to your fan model;
4.3 Replacing Light Bulbs
Replacing light bulbs in your Hunter Ceiling Fan is a straightforward process that ensures optimal lighting performance. Always turn off the power to the fan at the electrical panel before starting. Allow the bulbs to cool completely to avoid burns. Remove the glass shade or light kit cover by gently twisting or sliding it off, depending on your fan model. Carefully pull out the old bulb from its socket and insert the new one, ensuring it is securely seated. Replace the glass cover and restore power. Use only bulbs of the correct wattage and type specified in your manual to prevent overheating or damage. For energy efficiency, consider upgrading to LED bulbs, which are compatible with most Hunter models. If unsure, consult the manual or contact Hunter customer support for guidance. Regular bulb replacement keeps your fan functioning at its best.

Troubleshooting Common Issues
This section addresses frequent issues like the fan not turning on, unusual noises, or flickering lights. It provides step-by-step solutions to resolve problems efficiently and ensure smooth operation.
5.1 Fan Not Turning On
If your Hunter ceiling fan fails to turn on, start by ensuring the power source is operational. Check the circuit breaker or fuse box to confirm the power is on. Verify that the wall switch is in the “on” position and that all wiring connections are secure, especially in the fan’s motor housing and switch. If using a remote control or smart device, ensure batteries are fresh and the device is properly paired with the fan. Inspect the pull chain for proper function and alignment. If the issue persists, consult the manual for reset instructions or contact Hunter’s customer support for professional assistance. Always prioritize safety and avoid attempting repairs without proper guidance.
5.2 Unusual Noise or Vibration
If your Hunter ceiling fan produces unusual noise or vibration, check for loose screws or bolts in the fan housing, blades, or mounting hardware. Tighten any loose connections firmly. Imbalance in the blades can also cause wobbling and noise; adjust the blade screws to ensure proper alignment. If the fan was recently installed, verify that the mounting bracket is securely attached to the ceiling. Worn-out bearings or damaged blades may require replacement. Lubricate moving parts as per the manual’s instructions. For persistent issues, turn off the power and inspect the fan for debris or obstructions. If the problem persists, contact Hunter’s customer support for professional assistance. Regular maintenance and inspection can prevent such issues and ensure smooth operation.
5.3 Light Flickering or Not Working
If the light on your Hunter ceiling fan flickers or doesn’t work, first check the light bulbs for looseness or damage. Ensure they are securely screwed in and replace any faulty bulbs with the correct wattage specified in the manual. Verify all connections between the light kit and fan housing are secure. If using a dimmer switch, ensure it’s compatible with the fan’s light kit. Reset the dimmer to its default settings and test the light again. If the issue persists, inspect the wiring for any signs of damage or wear. For persistent flickering, consider replacing the dimmer switch with a standard on/off switch. If none of these steps resolve the problem, contact Hunter’s customer support for further assistance or potential replacement parts.
Hunter Ceiling Fan Models and Features
Hunter offers a variety of ceiling fan models, including modern, traditional, and vintage designs. Features include energy-efficient motors, smart home compatibility, and customizable lighting options.
6.1 Overview of Different Models
Hunter ceiling fans are available in a wide range of models to suit various styles and needs. The Aerodyne series offers sleek, modern designs with energy-efficient motors, while the Contempo series features contemporary aesthetics with advanced LED lighting. The Classic series provides timeless designs with traditional appeal, ideal for vintage-inspired spaces. Additionally, Hunter offers low-profile and flush-mount models for rooms with lower ceilings. Each model is designed to provide optimal airflow, quiet operation, and durability. Many models are also smart home compatible, integrating seamlessly with systems like HomeKit or Alexa. Whether you prefer minimalist designs or decorative finishes, Hunter ceiling fans cater to diverse preferences, ensuring a perfect match for any home decor.
6.2 Smart Home Compatibility (HomeKit, Alexa)
Many Hunter ceiling fan models are designed to integrate seamlessly with popular smart home systems like HomeKit and Alexa. This compatibility allows users to control their ceiling fans using voice commands or through dedicated smartphone apps. With HomeKit, fans can be easily incorporated into Apple’s ecosystem, enabling voice control via Siri and integration with other smart devices. Similarly, Alexa-enabled models work with Amazon’s Echo devices, offering hands-free operation and customizable routines. Smart home compatibility enhances convenience, enabling users to adjust fan speeds, toggle lights, and schedule operations remotely. Some models require a hub or bridge for connectivity, while others connect directly to Wi-Fi. This feature is particularly useful for modern homes, making it easier to manage energy efficiency and maintain a comfortable living environment. Always check your fan’s specifications to ensure it supports your preferred smart home platform.
6.3 Energy Efficiency and Certifications
Hunter ceiling fans are designed with energy efficiency in mind, offering models that meet strict energy-saving standards. Many fans are ENERGY STAR certified, indicating they meet U.S. Environmental Protection Agency guidelines for energy efficiency. This certification ensures that the fan operates with minimal energy consumption while maintaining high performance. Hunter fans often feature advanced motor technology and optimized blade designs to maximize airflow while reducing power usage. Additionally, some models include LED light kits, which are highly energy-efficient compared to traditional bulbs. These certifications and features not only help reduce energy bills but also support eco-friendly practices. Always look for the ENERGY STAR label when selecting a Hunter ceiling fan to ensure you’re choosing an energy-efficient option for your home. These models are tested and rated by third-party organizations to guarantee their energy-saving capabilities.
Repair and Replacement Parts
For repairs, Hunter provides detailed parts guides to identify and order replacement components. Visit Hunter’s official website or contact customer support to ensure authenticity and compatibility. DIY repair guidelines are also available for minor fixes, ensuring your fan operates efficiently without professional assistance. Always use genuine Hunter parts to maintain warranty validity and performance quality. This section helps you keep your ceiling fan in optimal condition with easy-to-follow repair instructions and part identification tips.
7.1 Identifying Replacement Parts
To identify replacement parts for your Hunter ceiling fan, start by locating the model number, typically found on the fan’s nameplate or the original packaging. This number is essential for matching the correct parts. Visit Hunter’s official website, where you can access detailed parts guides and diagrams specific to your model. These resources allow you to visually identify and verify the exact components needed for your fan. Additionally, consult the owner’s manual, which often includes a parts list or diagrams to help you recognize what might be missing or damaged. For further assistance, contact Hunter’s customer support team, who can provide guidance tailored to your specific model. Always ensure that any parts you order are genuine Hunter products to maintain warranty validity and ensure proper fit and performance. By following these steps, you can efficiently identify and procure the necessary replacement parts to keep your ceiling fan operational.
7.2 Ordering Parts from Hunter
To order replacement parts for your Hunter ceiling fan, visit Hunter’s official website, where you can access an online parts guide tailored to your specific model. Use the model number from your fan’s nameplate or owner’s manual to ensure accuracy. The website provides detailed diagrams and part numbers, making it easy to identify and purchase the correct components. For assistance, contact Hunter’s customer support team directly via phone or email. They can help verify part compatibility and guide you through the ordering process. Be sure to only purchase genuine Hunter parts to maintain your fan’s warranty and ensure proper fit and performance. Once ordered, parts are typically shipped within a few business days, allowing you to complete repairs efficiently and restore your fan to optimal operation.
7.3 DIY Repair Guidelines
For minor repairs, Hunter ceiling fans can often be fixed with basic tools and knowledge. Always disconnect power before starting any repair to ensure safety. Use genuine Hunter replacement parts to maintain warranty and performance. Consult the owner’s manual or online guides for specific instructions tailored to your model. Common DIY fixes include replacing light bulbs, tightening loose screws, or cleaning the fan blades. For more complex issues, like motor or electrical problems, consider consulting Hunter’s troubleshooting section or contacting customer support. If unsure, it’s recommended to hire a licensed electrician to avoid further damage or safety risks. Keep all repairs aligned with the manual’s guidelines to preserve your fan’s functionality and longevity.
Additional Resources
Visit Hunter’s official website for online manuals, troubleshooting guides, and video tutorials. Explore community forums for peer advice and stay updated on the latest Hunter ceiling fan resources.
8.1 Hunter Customer Service Contact
Hunter Fan offers dedicated customer support to assist with any questions or concerns. Contact their team via phone, email, or live chat on their official website. For immediate help, call their toll-free number or submit an inquiry form online. Their knowledgeable representatives are available to address installation issues, warranty claims, or general inquiries. Additionally, Hunter provides a comprehensive support section on their website, where you can find answers to frequently asked questions, troubleshooting tips, and downloadable resources. For mailing correspondence, send to Hunter Fan Company, 2500 UT Avenues North, Memphis, TN 38127. Their customer service team is committed to ensuring a seamless experience with your Hunter ceiling fan.

8.2 Online Manuals and Guides
Hunter Fan provides convenient online access to manuals and guides for their ceiling fans. Visit their official website to download PDF versions of owners manuals, installation guides, and troubleshooting resources. These documents are organized by model, ensuring easy access to specific instructions for your fan. Additionally, Hunter offers online support articles and videos that cover common topics such as fan assembly, light kit installation, and smart home integration. The website also features a searchable knowledge base to help you quickly find answers to frequently asked questions. This digital resource library is designed to complement the physical manual, offering a seamless and efficient way to manage your ceiling fan setup and maintenance needs.
8.3 Hunter Ceiling Fan Community Forums
The Hunter Ceiling Fan Community Forums offer a platform for owners to connect, share experiences, and solve issues. These forums are a valuable resource for troubleshooting, installation tips, and maintenance advice. Users can engage with other Hunter ceiling fan owners, exchange ideas, and learn from collective experiences. The forums often feature discussions on specific models, smart home integration, and energy efficiency. Additionally, Hunter customer support representatives frequently participate, providing official guidance and resolving complex issues. Whether you’re a new owner or a long-time user, the community forums are a great way to maximize your fan’s performance and address any concerns. They serve as a complementary resource to the official manuals, fostering a supportive environment for Hunter ceiling fan enthusiasts.